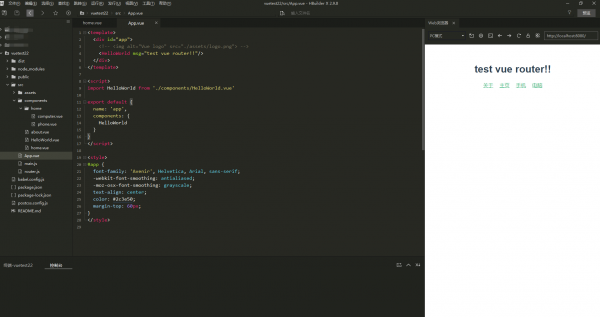
| vue-router是一个单页面的路由器,也就是说所有的跳转都会在这个页面实现。
这种只需要跳转页面,不需要添加验证方法的情况,可以使用 <router-link> 来实现导航的功能:

1、简单的跳转。
①首先要安装vue-router,利用npm进行安装
npm install vue-router或者cnpm install vue-router
②进行引用,<router-link to=”/user”>user</router-link> router-link指定路径,to指向所要跳转的url
<router-view></router-view>显示url的内容,也可写成<router-view/>
- <template>
- <div class=”hello”>
- <h1>{{ msg }}</h1>
- <ul>
- <li><router-link to=”/about”>{{about}}</router-link></li>
- <li><router-link to=”/home”>{{home}}</router-link></li>
- </ul>
- <router-view></router-view>
- </div>
- </template>
复制代码
②在component文件夹新建about.vue home.vue文件,按照默认模版about.vue
- <template>
- <div>
- <h1>{{msg}}</h1>
- <router-link to=”/”>返回</router-link>
- </div>
- </template>
- <script>
- export default { //ES6语法,用于输出到外部,这样就可以在其他文件内用import输入
- name: ‘about’,
- data () { //由于是组件,data必须是个函数,这是ES6写法,data后面加括号相当于data: function () {}
- return { //记得return不然接收不到数据
- msg: ‘Welcome’ //上面的 msg 就是这里输出的
- }
- }
- }
- </script>
- <style>
- </style>
复制代码
home.vue
- <template>
- <div>
- <h1>{{msg}}</h1>
- <router-link to=”/”>返回</router-link>
- <router-view></router-view>
- </div>
- </template>
- <script>
- export default { //ES6语法,用于输出到外部,这样就可以在其他文件内用import输入
- name: ‘home’,
- data () { //由于是组件,data必须是个函数,这是ES6写法,data后面加括号相当于data: function () {}
- return { //记得return不然接收不到数据
- msg: ‘一级路由内容 Welcome’ //上面的 msg 就是这里输出的
- }
- }
- }
- </script>
- <style>
- </style>
复制代码
③在src文件夹下新建一个router.js文件,进行配置引入vue和vue-router,切记要加上Vue.use(VueRouter)
- import Vue from ‘vue’
- import VueRouter from ‘vue-router’
- import home from ‘./components/home.vue’
- import about from ‘./components/about.vue’
- Vue.use(VueRouter)
复制代码
引入你新建的about.vue home.vue文件,配置路由,指定路由和组件之间的关系
- const routes = [{
- path: ‘/home’,
- component: home,
- },
- {
- path: ‘/about’,
- component: about
- }
- ]
复制代码
定义router,完整的router.js代码如下:
- import Vue from ‘vue’
- import VueRouter from ‘vue-router’
- import home from ‘./components/home.vue’
- import about from ‘./components/about.vue’
- Vue.use(VueRouter)
- const routes = [{
- path: ‘/home’,
- component: home,
- },
- {
- path: ‘/about’,
- component: about
- }
- ]
- var router = new VueRouter({
- mode: ‘history’,
- base: __dirname,
- routes
- })
- export default router
复制代码
重点或者易错点:export default router这句话要记得加上,不然会报下面的警告

④配置main.js,详细见下面代码
- import Vue from ‘vue’
- import App from ‘./App’
- // 引入路由
- import router from ‘./router’
- Vue.config.productionTip = false
- new Vue({
- el: ‘#app’,
- router,
- // 注入到根实例中
- components: { App },
- render: h => h(App)
- }).$mount(‘#app’)
复制代码
2、子路由的跳转
在1的基础,进行子路由的跳转,
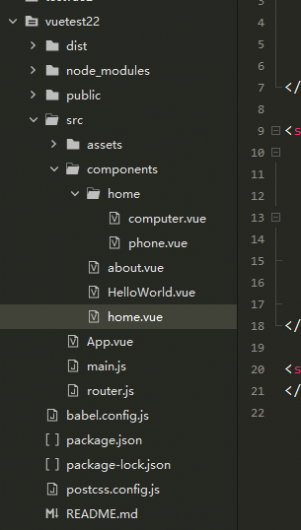
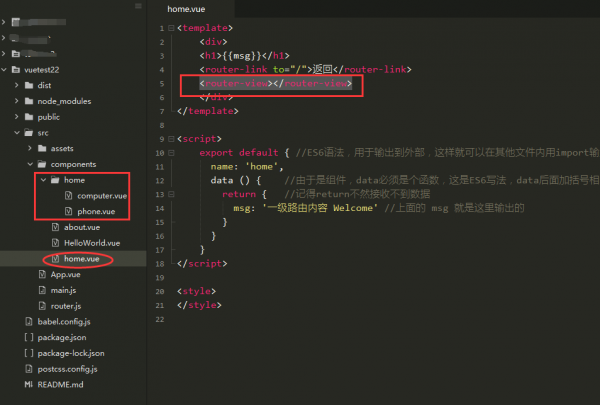
①在home文件夹下新建两个vue文件,作为子路由所要展示的内容

②在router中配置子路由,在上一节点的内容加上子路由,利用chilren特性
- const routes = [{
- path: ‘/home’,
- component: home,
- children: [{
- path: ‘computer’,
- component: computer
- },
- {
- path: ‘phone’,
- component: phone
- }
- ]
- },
- {
- path: ‘/about’,
- component: about
- }
- ]
复制代码
③在父页面写上
<router-view></router-view>
以显示子页面的内容

上述示例代码全部在附件中,感兴趣的可以下载看一下。
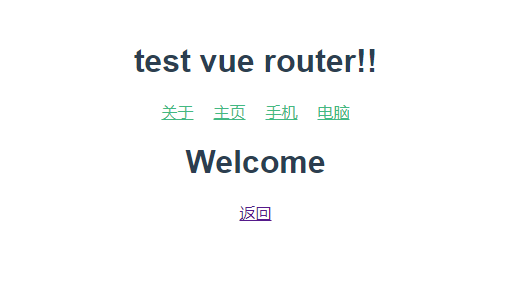
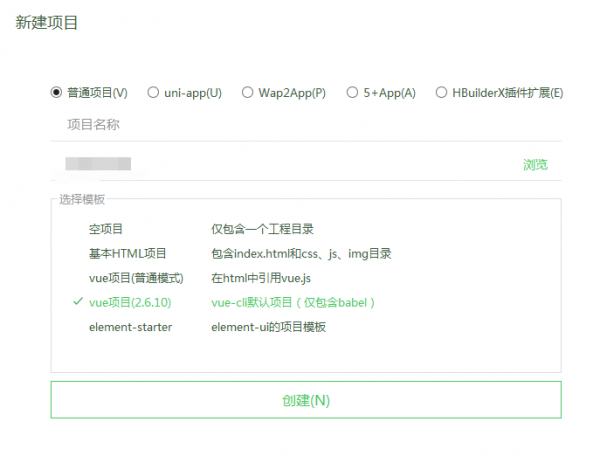
代码采用HBuilderX生成的vue-cli项目,项目预览情况如下:


在IIS下部署,需要编译生成文件,生成命令
详细VUE搭建IIS站点参见 windows下搭建vue开发环境+IIS部署 |
